The Beginner's Guide to Thriving Indoor Plants
New to houseplants? Learn how to choose the right species, master light and watering, prevent pests, and build a simple routine for lush growth.
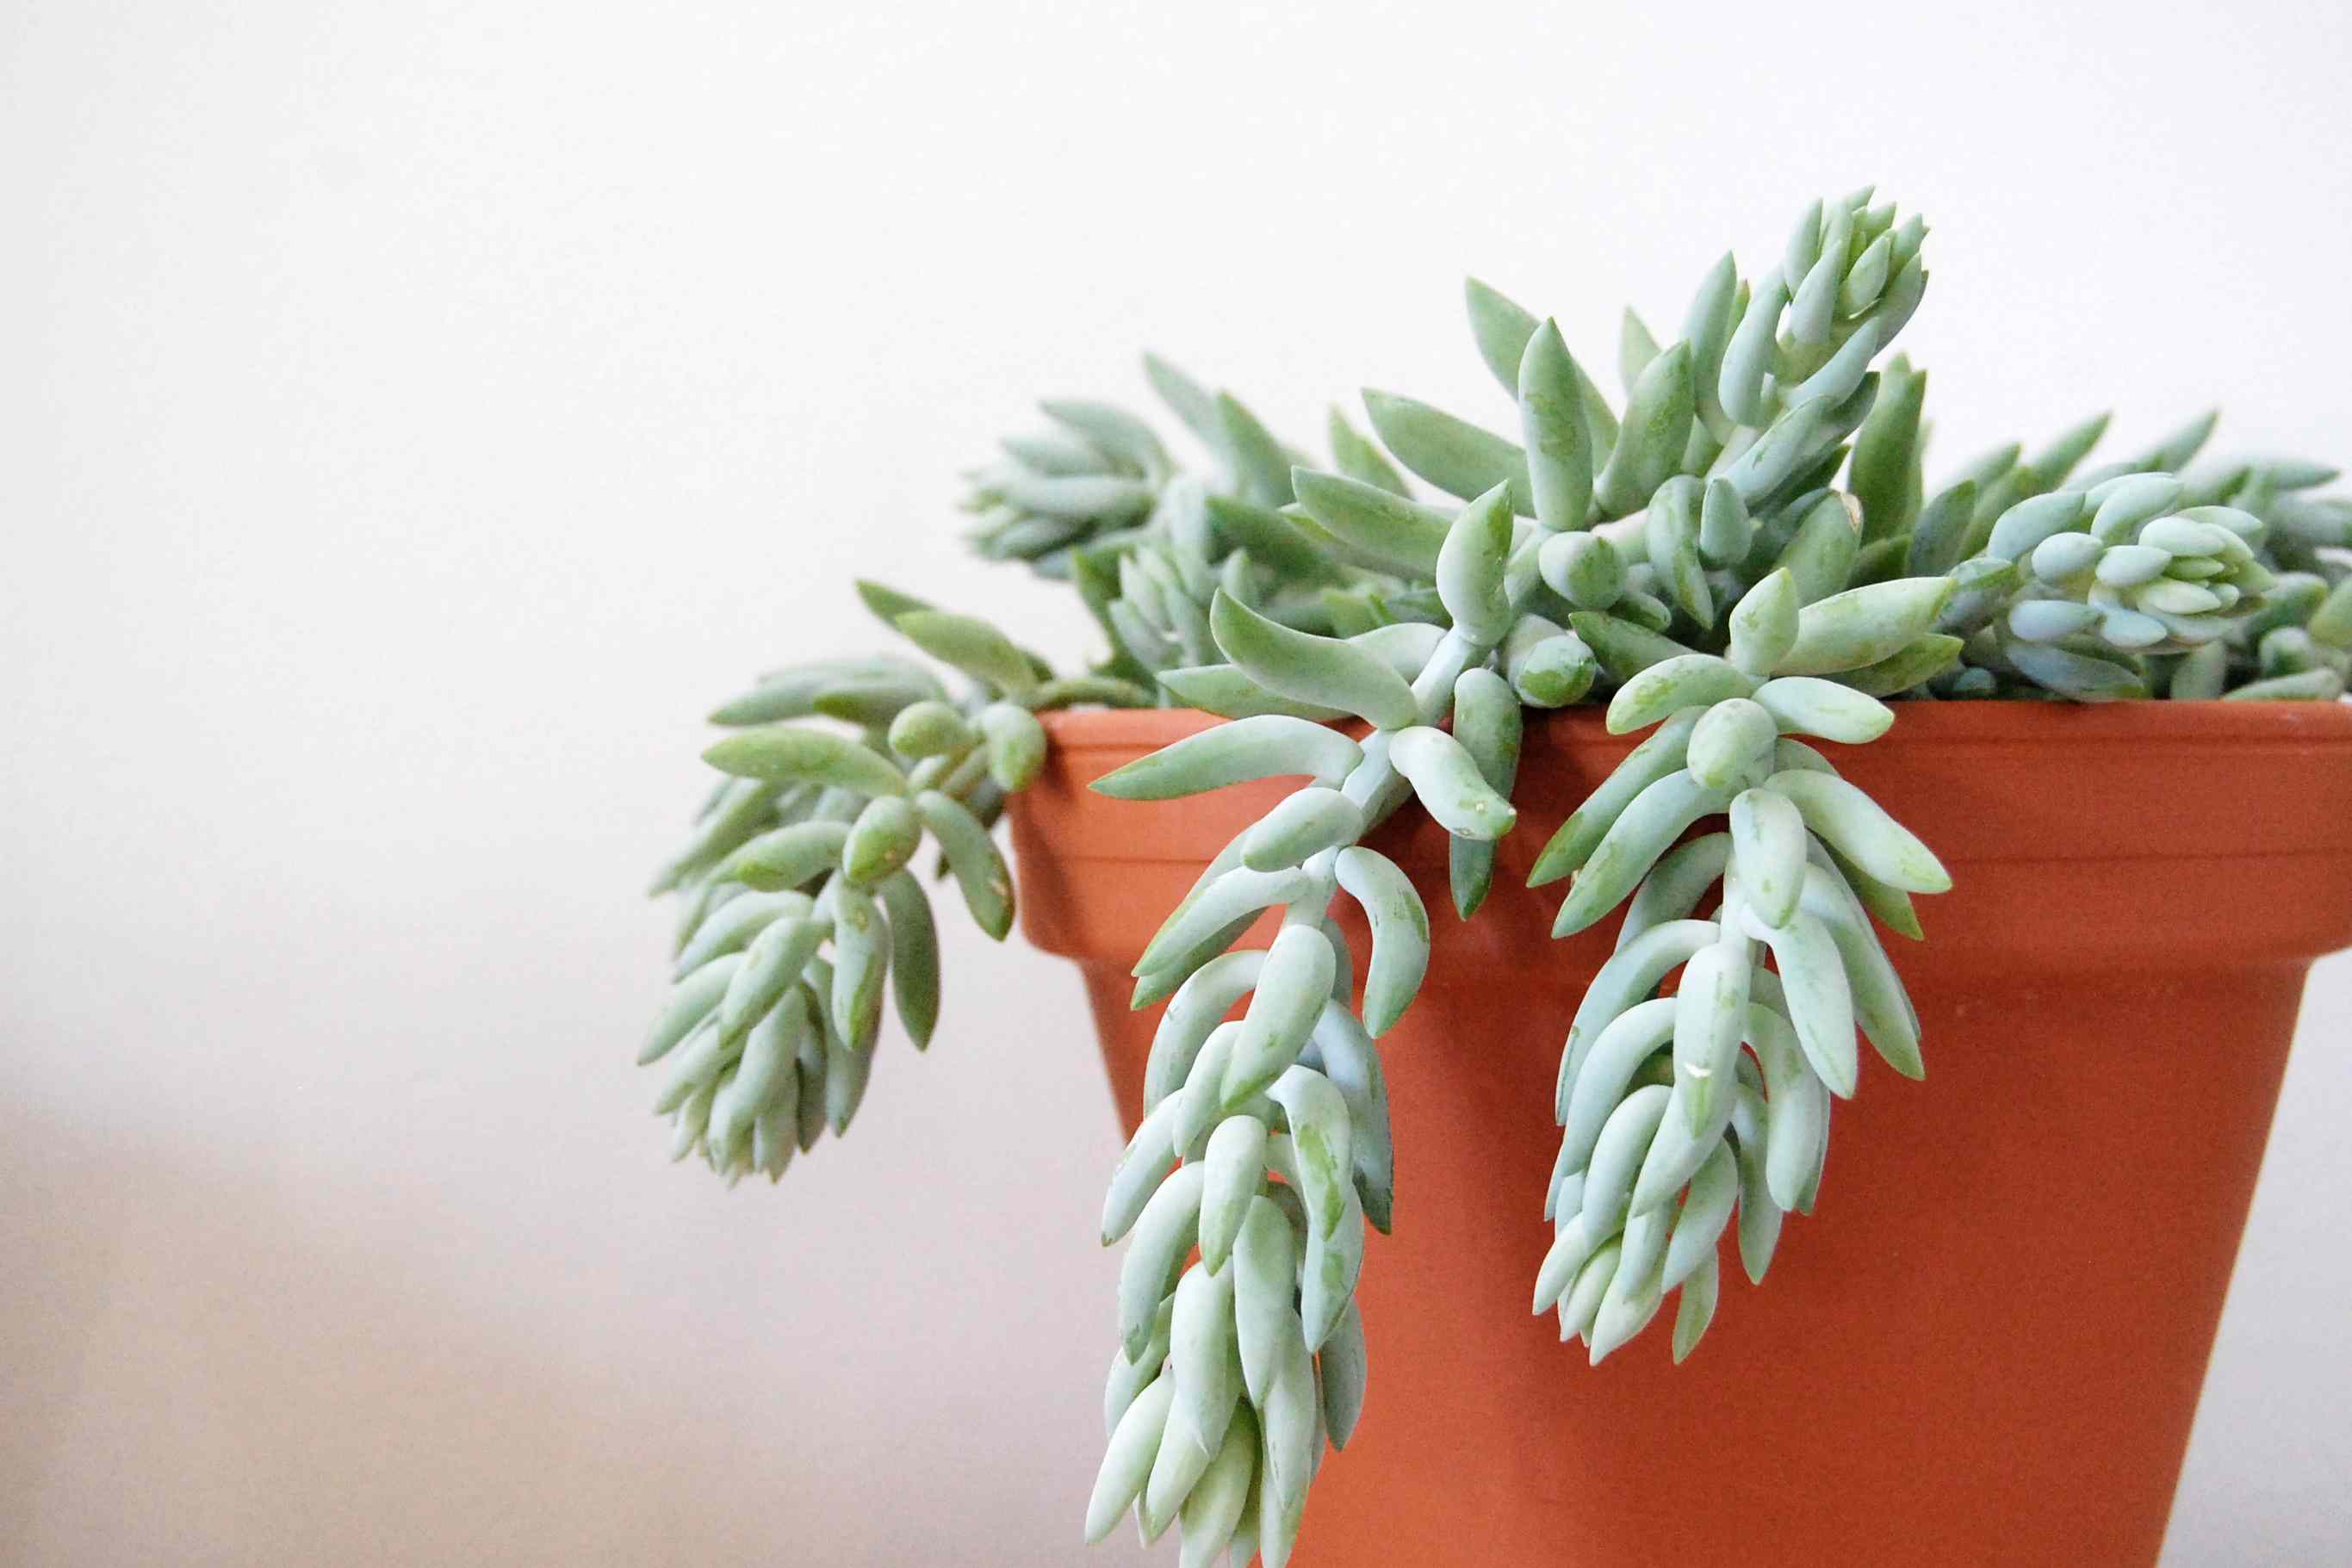
Start Smart With Plant Selection: Picking the right indoor plants starts with knowing your space and habits. Choose beginner friendly varieties that forgive occasional misses. Snake plant, ZZ plant, pothos, philodendron, and spider plant adapt to many homes. Map your rooms by light, temperature, and humidity. Bathrooms may suit ferns thanks to steam, while warm, bright living rooms treat sun lovers better. Be honest about your routine; if you travel or forget, lean into low maintenance foliage with thicker leaves that store water. Start small, one or two plants, and learn their signals before expanding. Consider pet safety by checking whether leaves are irritating if nibbled, and place delicate specimens out of reach. Prioritize health over size when shopping: look for perky growth, firm stems, and pest free foliage. Avoid drooping or soggy soil at purchase, which hints at overwatering. Bring plants home gradually, acclimating them away from drafts or heating vents. Above all, match the plant to your lifestyle, not the other way around, and success follows.
Mastering Light And Placement: Light is plant food, and understanding it transforms results. Most houseplants thrive in bright indirect light, meaning near a window but shielded from harsh rays. Learn your exposures: south facing is strongest, west is warm and intense late day, east is gentle morning light, and north is soft and consistent. Use the hand shadow test; a crisp shadow suggests brighter light, while a fuzzy shadow suggests medium to low. Shift plants a little closer or farther from glass until foliage color and growth look balanced. Sheer curtains soften glare, while mirrors or light walls bounce brightness deeper into a room. Rotate pots every week or two to prevent leaning and encourage even photosynthesis. For dim corners, supplement with a full spectrum grow light placed at a safe distance to avoid leaf scorch. Watch for signals: leggy stems seek more light, while pale, bleached patches suggest too much. Place foliage away from radiators and drafts to maintain steady comfort.
Watering With Confidence: Consistent, thoughtful watering prevents most houseplant woes. Begin with drainage; every pot needs a hole so excess water can escape, preventing root rot. Check moisture before you pour. Use the finger test to the first knuckle, feel for cool dampness, and note the pot's weight; dry soil feels lighter. Water thoroughly until liquid runs out the bottom, then empty saucers so roots are not sitting in a bath. Many plants prefer the top layer to dry slightly between drinks, while thirstier tropicals appreciate even moisture. Terracotta dries faster than plastic, so adjust frequency by pot material, plant size, and room conditions. Consider bottom watering for dense foliage to avoid wetting leaves, then drain well. Learn plant signals: limp, soft stems often mean overwatering, while crisping edges can signal underwatering or low humidity. Group plants to raise ambient moisture, or use a pebble tray for gentle lift. Above all, water to the plant's pace, not the calendar, and your confidence will grow.
Soil, Pots, And Repotting: Healthy roots start with a well draining mix tailored to the plant. Aroids like pothos and philodendrons enjoy a chunky blend with aeration from perlite or pumice, plus bark and coco coir. Cacti and succulents need extra grit and sand for rapid drainage, while orchids prefer airy bark that cradles roots. Choose containers with drainage holes; decorative cachepots are fine if the inner nursery pot can drain freely. Size matters: stepping up just one or two sizes prevents waterlogged soil around small root systems. Signs that repotting helps include roots circling the bottom, soil drying unusually fast, or reduced vigor. When repotting, massage circling roots loose, trim dead bits, and set the crown at the same level as before. Fill gaps gently, water to settle, and avoid packing soil too tightly. Delay heavy feeding for a short period after the move to let roots recover. Thoughtful repotting refreshes nutrients, boosts growth, and keeps plants stable and happy.
Feeding, Hygiene, And Pest Care: Once light, water, and soil are dialed in, support growth with a gentle balanced fertilizer during active periods. Dilute more than you think; light, regular feeding beats heavy doses that risk salt buildup. Keep leaf hygiene on your side by dusting with a soft brush or wiping with a damp cloth to maximize photosynthesis and reveal issues early. Prune yellowing leaves, pinch leggy tips to encourage branching, and stake tall stems for support. Inspect weekly for pests such as tiny webs, sticky residue, speckles, or curling leaves. At the first sign, quarantine the plant to protect neighbors. Treat methodically with insecticidal soap or light horticultural oil, coating leaf undersides and repeating as needed to break life cycles. Rinse residues after treatments if instructions suggest, and improve airflow to deter future outbreaks. Remember that stressed plants invite trouble; steady care, clean tools, and consistent conditions are your best prevention plan.
Routine, Troubleshooting, And Joy: Create a simple care routine that fits your life. Pair plant checks with existing habits, like making coffee or winding down in the evening. Keep a small log to note watering dates, new leaves, or adjustments to light, and you will spot patterns fast. Recognize microclimates in your home; a shelf near a vent dries out faster than a shaded nook. Troubleshoot with clues: yellow lower leaves can be natural aging or extra moisture, brown tips often signal low humidity or fertilizer salts, droop may come from thirst or transplant shock, and leggy growth asks for more light. Adjust one variable at a time to see what truly helps. Celebrate small wins, from a fresh unfurling leaf to a successful propagation cutting. Curate a mix of textures and heights to create calm, living decor. With patience and curiosity, your indoor garden becomes a steady source of comfort, creativity, and daily green discovery.